


Nginx配置
具体配置信息请查看官方文档:https://nginx.org/en/docs/ngx_core_module.html
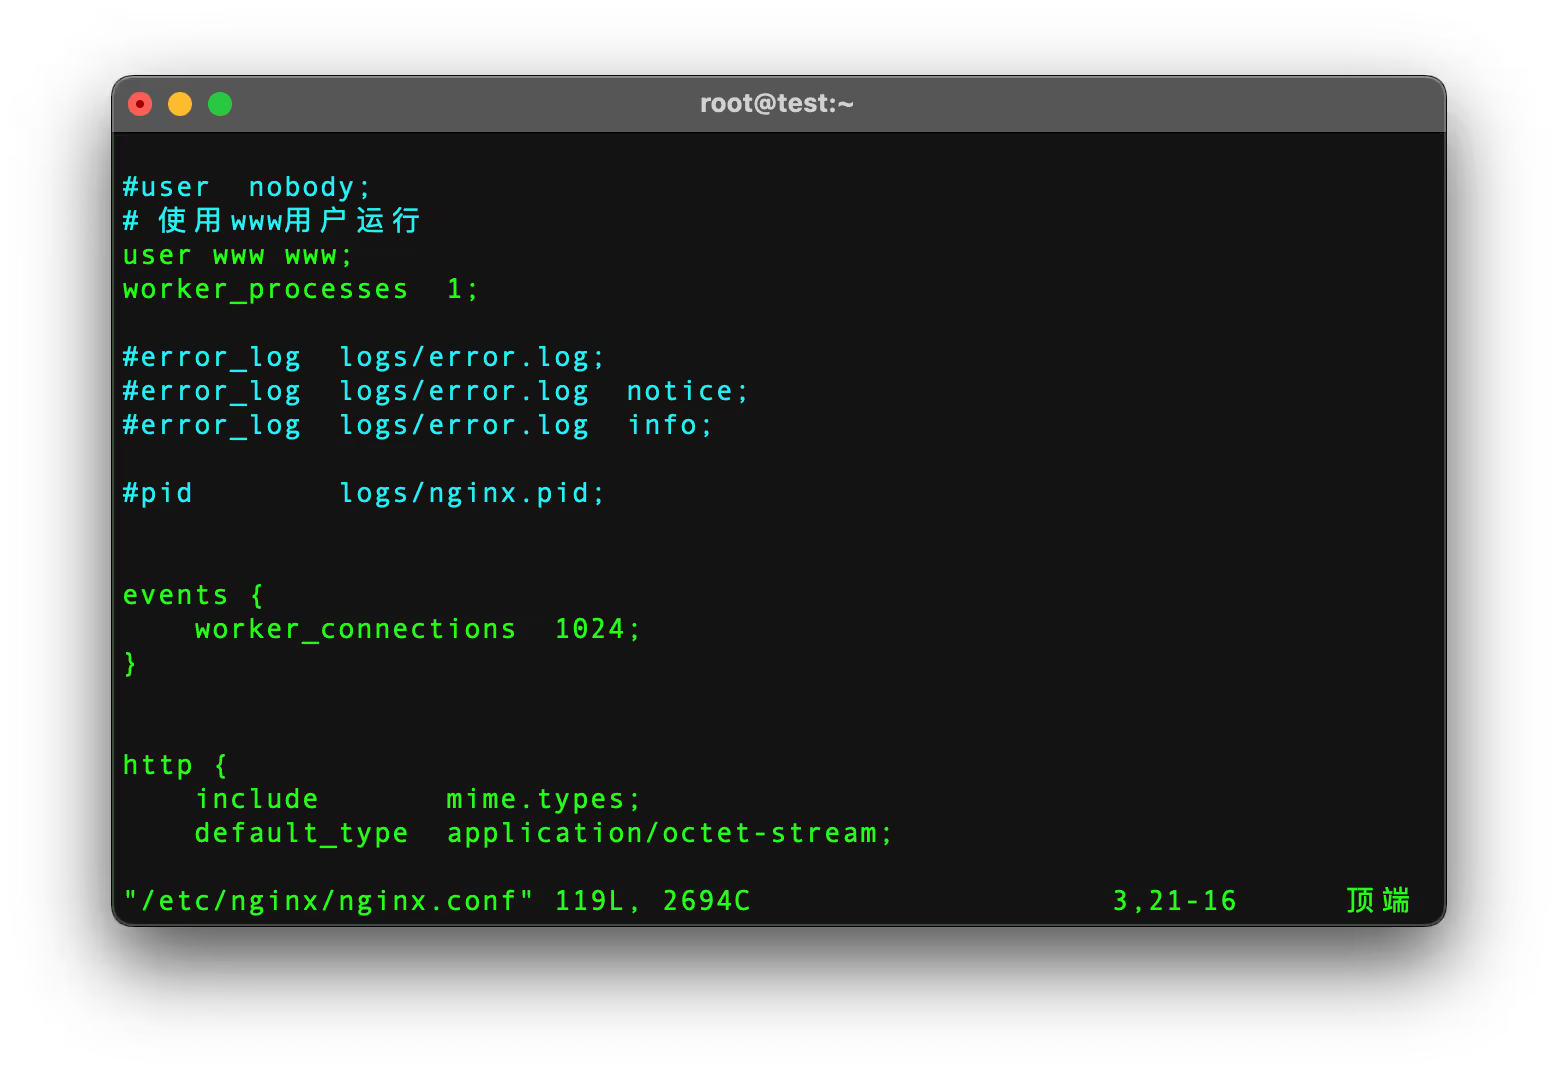
使用 www 用户运行
官网文档:https://nginx.org/en/docs/ngx_core_module.html#user
修改 nginx.conf 配置文件,配置文件添加 user www www;
并重启服务,查看nginx进程运行的用户。
bash
vim /etc/nginx/nginx.conf
systemctl stop nginx
systemctl start nginx
ps aux | grep nginx | grep -v grep
# 输出应显示 master 进程以 root 运行,worker 进程以配置的用户(如www)运行
bash
[root@test ~]# vim /etc/nginx/nginx.conf
[root@test ~]# systemctl stop nginx
[root@test ~]# systemctl start nginx
[root@test ~]# ps aux | grep nginx | grep -v grep
root        1329  0.0  0.1  10928  2552 ?        Ss   23:13   0:00 nginx: master process /usr/sbin/nginx
www         1330  0.0  0.2  13000  4800 ?        S    23:13   0:00 nginx: worker process
注
如果之前编译安装时指定了用户组和用户,则无需修改次配置;
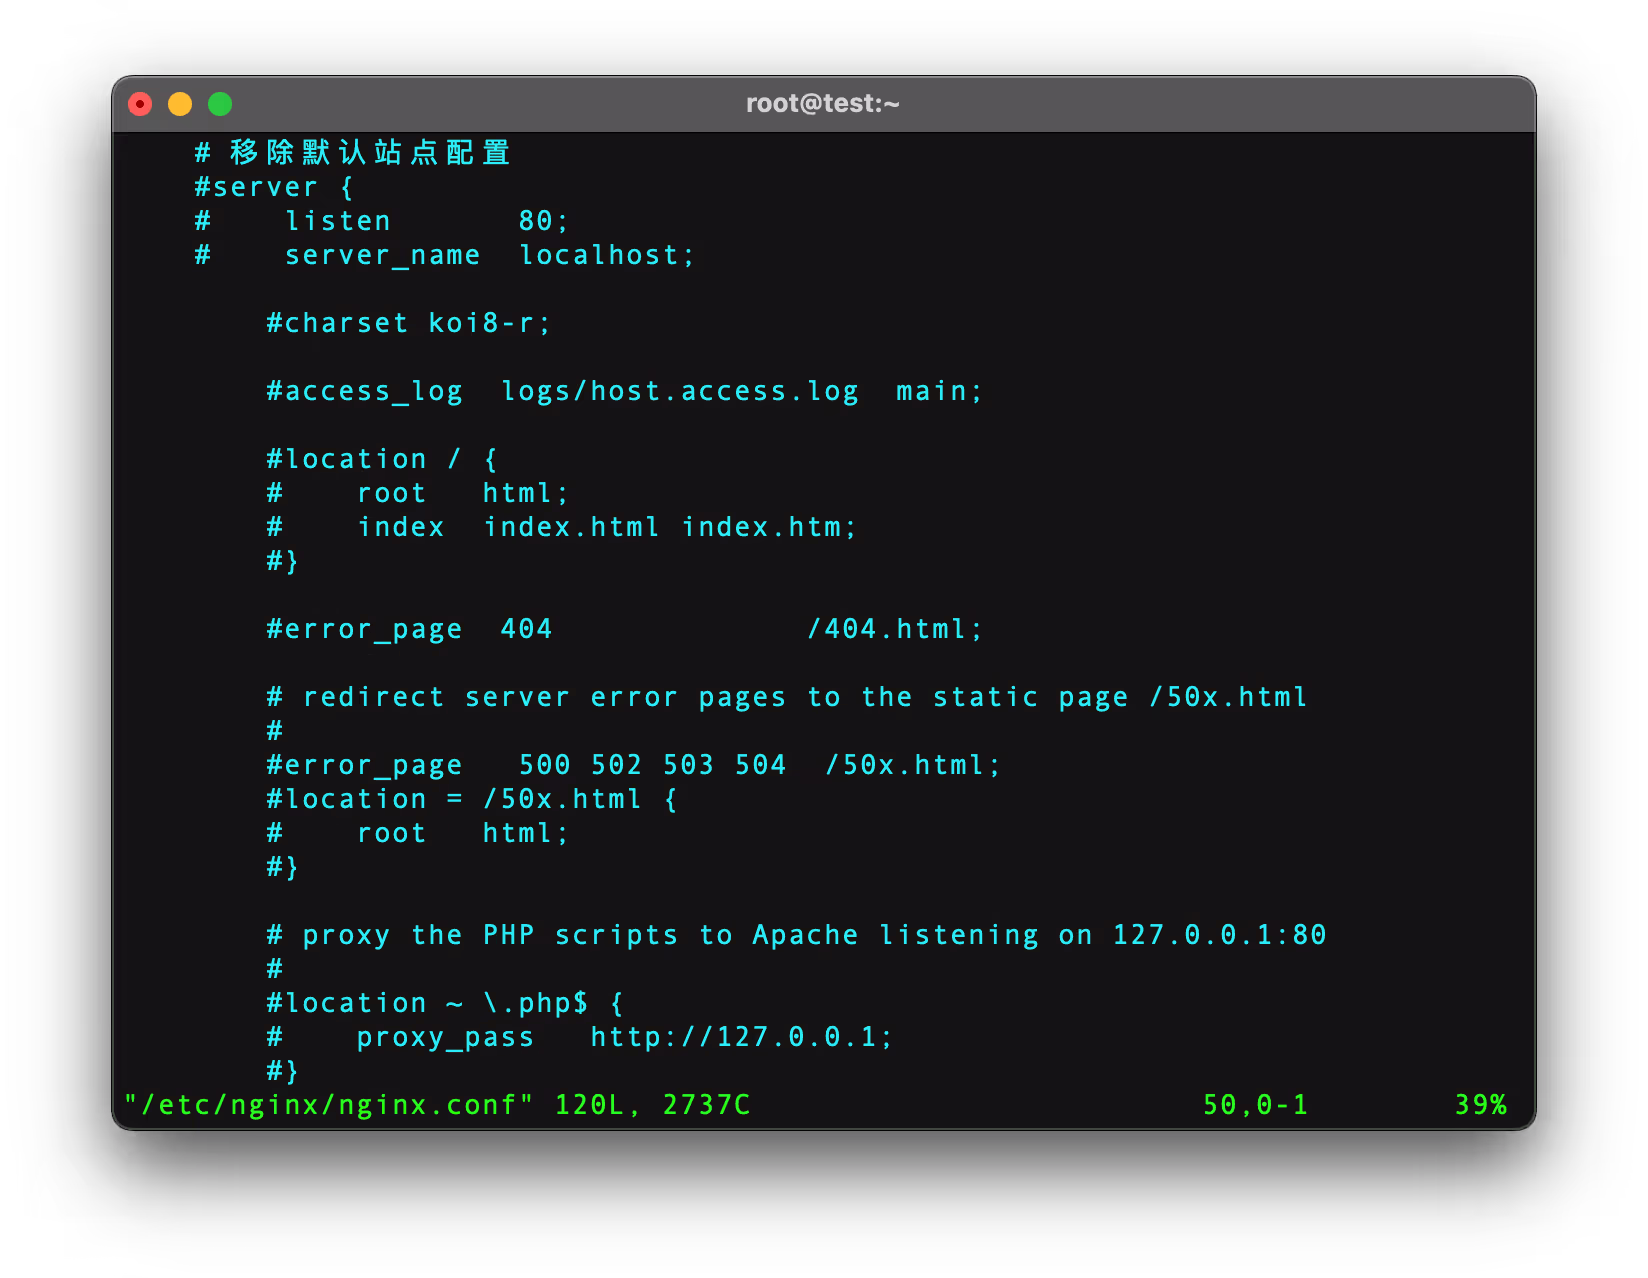
修改Nginx默认站点
安装nginx后,nginx.conf 文件默认监听80端口,有一个默认页面。
你可以根据自己需求修改此默认站点,或注释或移除:
站点目录配置
todo
进程与CPU调优
编辑 nginx.conf 配置文件,修改以下相关配置:
Nginx运行工作进程个数 worker_processes 一般设置CPU的核心或者核心数x2。也可以直接设为auto,Nginx会自动根据CPU核心数来设置。
你可以通过nproc命令查看CPU核心数。
nginx
# 自动匹配 CPU 核心数
worker_processes auto;
# 自动绑定 CPU 核心(需 Nginx ≥1.9.10)
worker_cpu_affinity auto;
# 每个进程最大文件句柄数(需调整系统 ulimit)
worker_rlimit_nofile 65535;
配置后重启Nginx,通过 ps aux | grep nginx | grep -v grep 检查 Worker 进程数量:

[root@test ~]# vim /etc/nginx/nginx.conf
[root@test ~]# systemctl reload nginx
[root@test ~]# ps aux | grep nginx | grep -v grep
root        1593  0.0  0.1  10652  3224 ?        Ss   23:22   0:00 nginx: master process /usr/sbin/nginx
www         1705  0.0  0.2  12552  4492 ?        S    23:23   0:00 nginx: worker process
www         1706  0.0  0.2  12552  4492 ?        S    23:23   0:00 nginx: worker process
[root@test ~]#
events事件模型优化
编辑 nginx.conf 配置文件,修改以下相关配置:
nginx
events {
    # 单个 Worker 最大连接数(总连接数 = worker_processes × worker_connections)
    worker_connections  65535;
    # 高性能事件模型(Linux 推荐)
    use epoll;
    # 批量接受新连接
    multi_accept on;
}
开启全局gzip压缩
编辑 nginx.conf 配置文件,在 http 块中添加以下配置:
nginx
http {
    ## http_gunzip_module 模块配置
    # 开启或者关闭Gzip功能,默认情况下,该指令设置为off,即不启用Gzip功能。只有将该指令设置为on时,其他指令设置才有效。
    gzip on;
    # 设置Gzip压缩文件使用缓存空间的大小,其作用是按块大小的倍数申请内存空间。
    gzip_buffers 32 8k;
    # 级别1表示压缩程度最低,压缩效率最高;级别9表示压缩程度最高,压缩效率最低,最费时间。
    # 建议 6 平衡性能与压缩率
    gzip_comp_level 6;
    # 针对不同种类客户端发起的请求,可以选择性地开启和关闭Gzip功能。
    gzip_disable "MSIE [1-6]\.";
    # 识别http协议的版本,早期浏览器可能不支持gzip自解压,用户会看到乱码。(默认为http1.1)
    gzip_http_version 1.1;
    # 该指令设置页面的字节数(从header头的Content-Length中获取),当响应页面的大小大于该值时,才启用Gzip功能。
    # 建议设置成gzip_min_length 1024;仅压缩大于 1KB 的文件。
    gzip_min_length 1k;
    # 用于设置Nginx服务器是否对后端服务器返回的结果进行Gzip压缩;
    # 一般情况下,后端都是用来做restAPI接口,返回的数据量不会太大,不建议进行压缩。
    gzip_proxied expired no-cache no-store private auth;
    # 设置压缩指定MIME类型,默认值是:text/html
    # 该变量还可以取“*”,表示对所有MIME类型的页面数据进行Gzip压缩
    gzip_types text/plain application/json application/javascript application/x-javascript text/javascript text/css application/xml application/xml+rss;
    # 开启后的效果是在响应头部添加了Accept-Encoding: gzip
    gzip_vary on;

    ## http_gzip_static_module 模块配置
    # nginx对于静态文件的处理模块,开启后会寻找以.gz结尾的文件,直接返回,不会占用cpu进行压缩,如果找不到则不进行压缩。
    gzip_static on;

    # ...其他配置
}
注
在编译安装时,需要开启 http_gunzip_module 和 http_gzip_static_module 模块。
具体配置请参考官方文档:
压缩验证
请替换为你的服务地址。
bash
# 检查响应头
curl -I -H "Accept-Encoding: gzip" http://example.com
# 应返回 Content-Encoding: gzip

# 检查压缩率
curl -s -H "Accept-Encoding: gzip" http://example.com | wc -c
curl -s http://example.com | gzip | wc -c  # 对比原始大小